
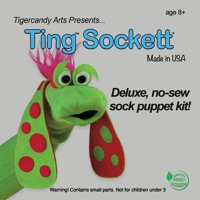
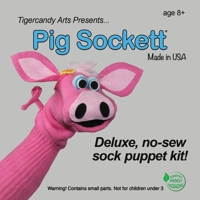
New Products

Step x Step Angel Assembly Photos
View Written Directions 
 For BEST results, read through the directions at least once before commencing work.
STEPS 1-3 

STEP 4-5: Arms (optional) View Written Directions 


Steps 6-9: Hands We are using a dark thread for visibility. You should use the color that most closely matches your pieces.


Steps 10-12 Gown: Front Pannel: Accordion fold fabric, pin in place. [Written directions]


♦If adding feathers to your wings, do so before proceeeding to Step 13. Instructions for adding feathers at the bottom of this page.♦
Step 13-14: Use the lacing needle to attach Wings to felt underdress in up or down position. View Written Directions 
Steps 15-16: Gown, back pannel; repeat steps 10-12
Steps 17-18: Dressing the Angel Step 18: If not making arms insert tube to aid with balance.
Step 19: Hair : pin hair bundles, then sew (optional)

Step 20: Eyes
Steps 21-23: Halo
Renaissance Style Halo View Written Directions

Floating Style Halo


Feathers: View Written Directions
 Configure feathers before gluing (approx 6 feathers per wing per side). Place feathers rightside up, stems pointing in. Follow the natural curve of the wing

Trim stem if necessary. Put glue on underside of feather stem only. Too much glue will make wings too stiff.

After wing completion, return to Step 13.
Written Directions (printable):
Configure feathers before gluing (approx 6 feathers per wing per side). Place feathers rightside up, stems pointing in. Follow the natural curve of the wing Trim stem if necessary. Put glue on underside of feather stem only. Too much glue will make wings too stiff.
After wing completion, return to Step 13.
Written Directions (printable):

